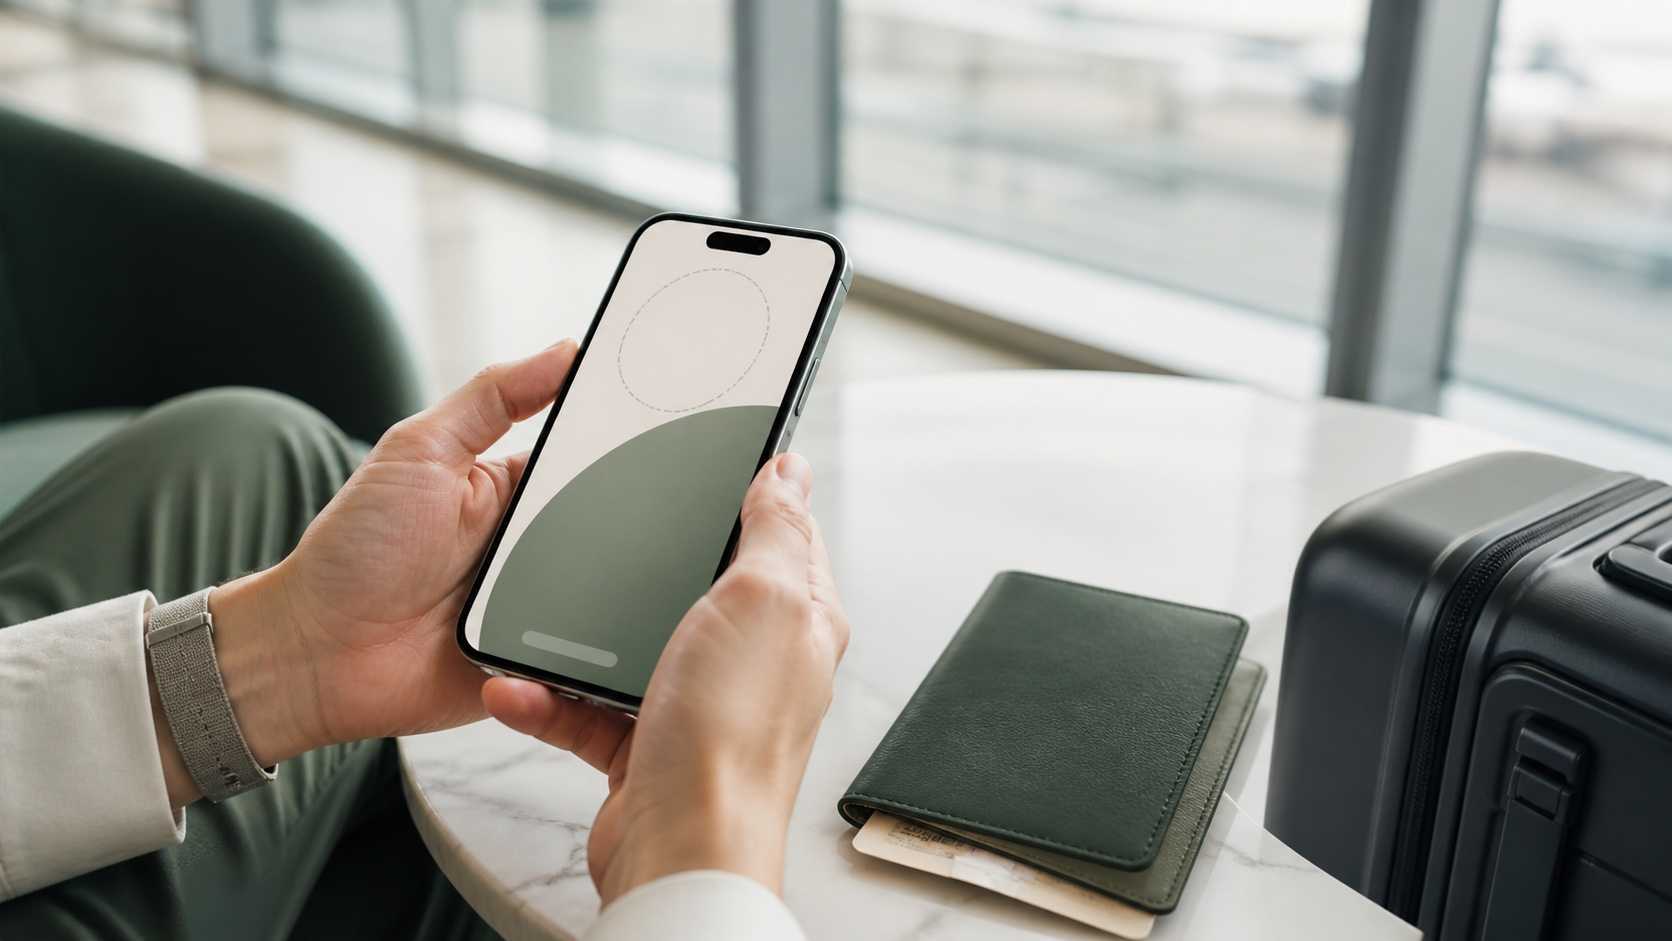
iPhone setup
Install an eSIM on iPhone
Install your travel eSIM over Wi-Fi, label both lines clearly, and choose the travel line for mobile data while keeping your usual SIM available for calls and messages.
Read guidePractical support
Install with confidence, choose the right amount of data and solve common connection problems before they interrupt your trip.
Browse all guidesReviewed, source-linked instructions for the decisions travellers most often need to make.
iPhone setup
Install your travel eSIM over Wi-Fi, label both lines clearly, and choose the travel line for mobile data while keeping your usual SIM available for calls and messages.
Read guide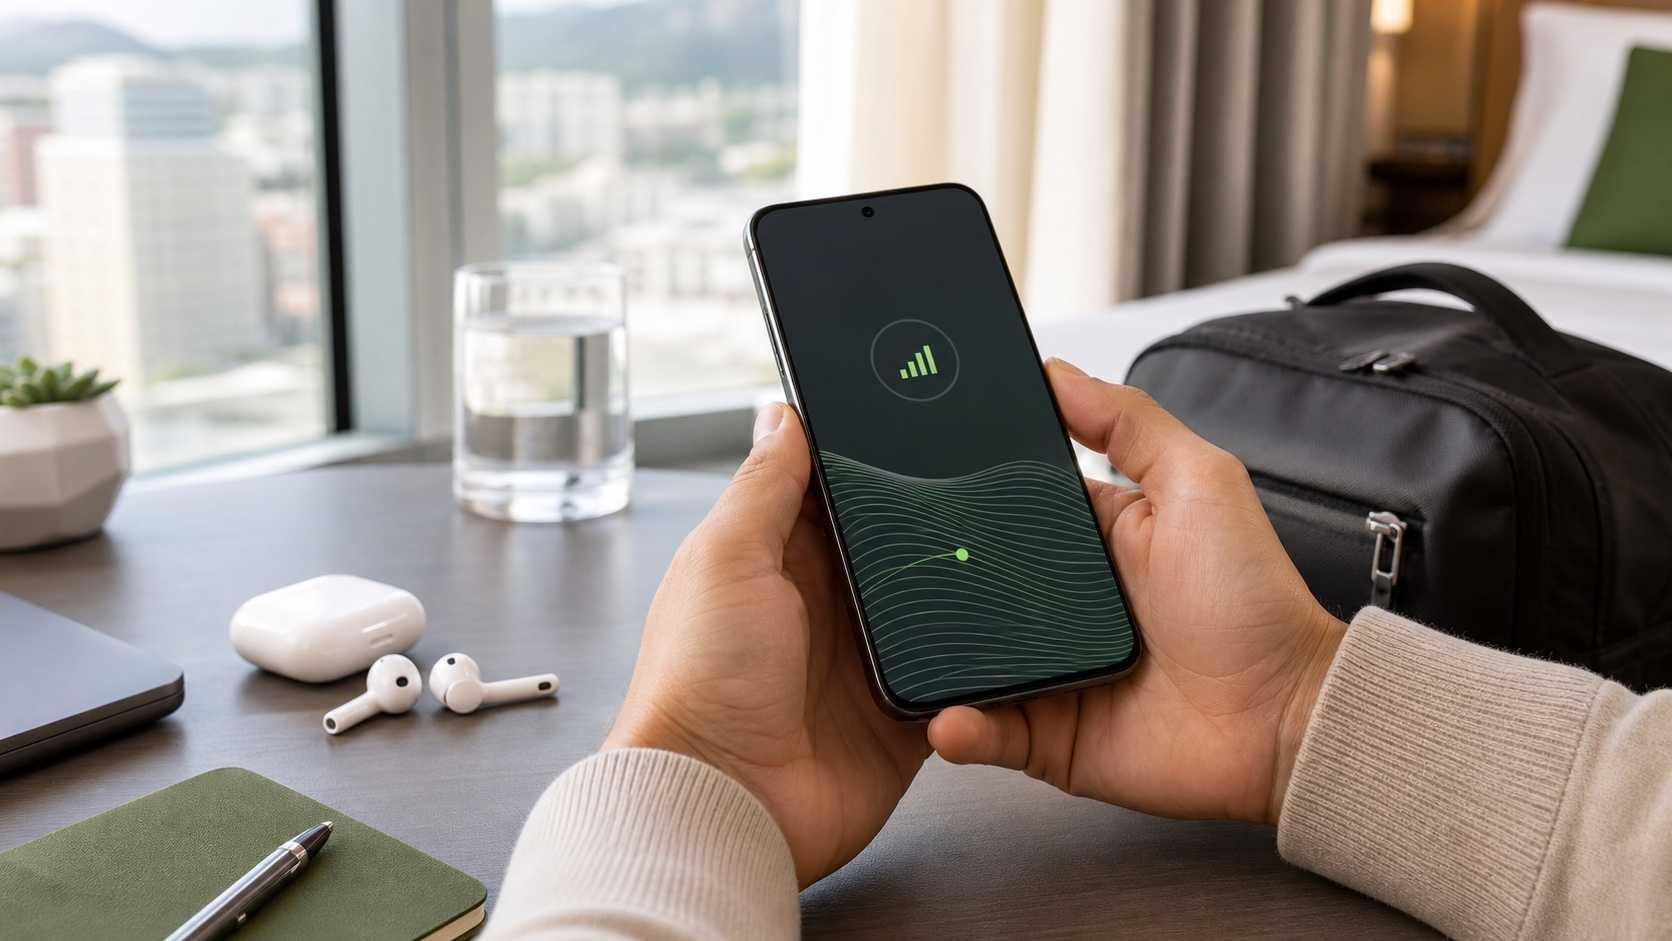
Android setup
Android menu names vary, but the safe sequence is consistent: connect to Wi-Fi, add the eSIM in SIM settings, label it, and select it as the mobile-data line.
Read guide
Compatibility check
A travel eSIM needs both compatible hardware and an unlocked phone. Check the exact model and regional variant rather than relying on the product family name.
Read guide
Activation timing
Buy before departure, then let the plan’s activation rule decide when to install it. Some plans start on installation; others start only after the first supported network connection.
Read guide
Data planning
Choose data from your real phone usage and travel habits. Maps and messaging are relatively light; video, cloud backups and hotspot use can consume a plan quickly.
Read guide
Troubleshooting
Check the simple settings first: the eSIM line must be on, selected for mobile data and allowed to roam. Keep the profile installed while you work through the sequence.
Read guidePlanning a trip?